Category:ICT & Site Maintenance
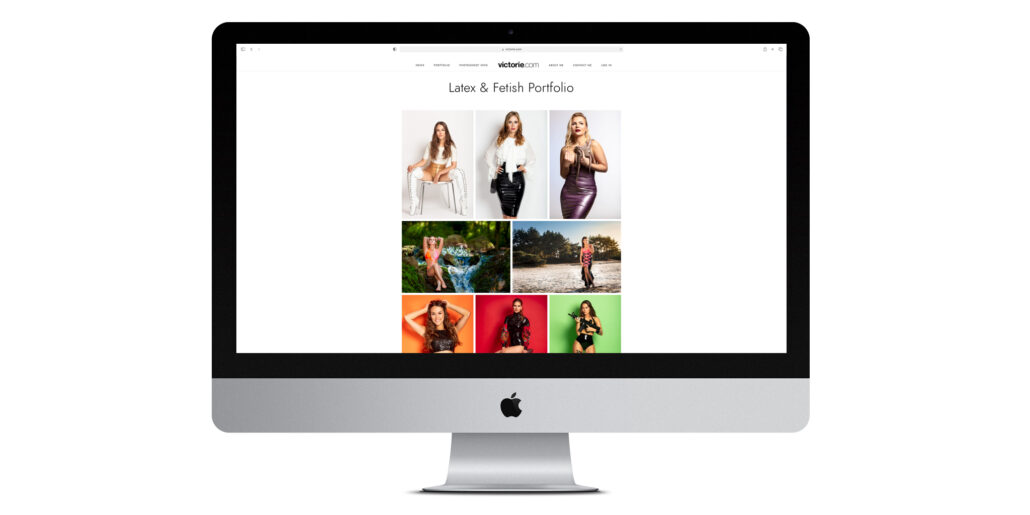
I have updated my portfolio pages to display larger photos. I’ve made the thumbnails on the page overview significantly larger. It is a small but significant update. There is a trend to have large and full-screen photos in portfolios and I did not want to stay behind.
All 4 portfolio pages have been updated. Check’em out:
When your favorite model calls you to ask if you wanna help her with a new project, what would you say? When I got the question from Shannety, I said:”What are your plans? How can I help?”. That started us on an adventure to build a webshop. She did most of the work. I helped her with the photography of course and provided a lot of consultancy. And tataaaa… A few weeks later, or rather a few months later, she has a webshop selling the cutest dresses and more.
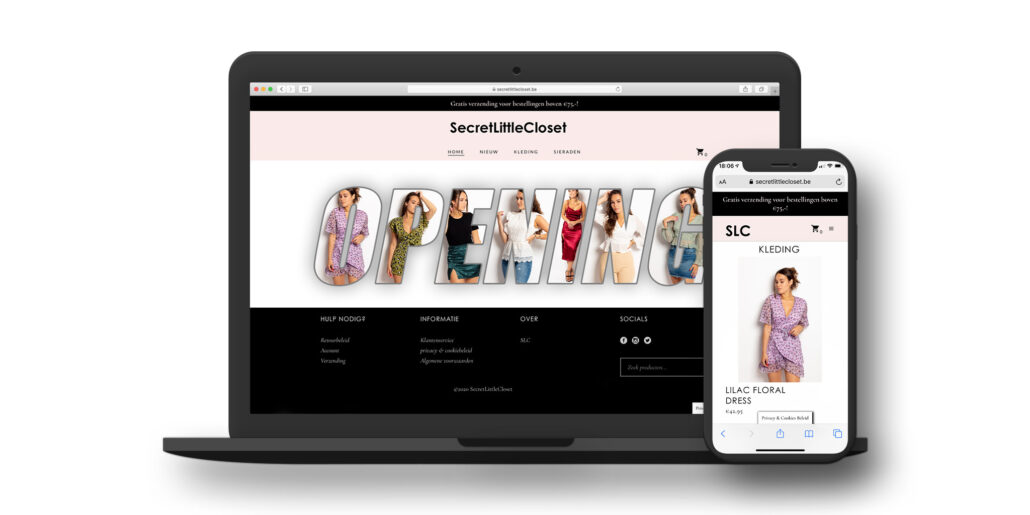
I am quite excited about the launch of her webshop today. We’ve both put a lot of effort and hours in the project. I am proud of what we’ve accomplished so fare. I wish her the best of luck with the shop. And I will continue to support her of course.
Do me a favor and visit Shannety’s shop at:
www.secretlittlecloset.be
It gives me great pleasure to announce a big overhaul of my website. The brand new look has been live for about a week now. And I’ve been working diligently to solve the last few issues since then.
I have maintained a website since the early 90’s of the 20th century. Originally with static HTML pages only. But I quickly adopted WordPress as the core of my site.
My site has been styled by the Enfold theme for WordPress since September 2013. An amazing theme: very versatile, stable, regular updates and good support. I absolutely love this theme and I will continue to keep my eye on it.
Driven by another web design project that I am helping to put together, I redesigned my own site based on the BlackSilver theme. My site now offers a new clean design, bigger pictures and a full screen slideshow with my favorite photos on the home page.
I hope you like it. Drop me a mail or leave a comment and let me know what you think.
Did you know my blog’s 1st post dates back to 2003? Even more, did you know I have registered the domain name victorie.com back in 1999 and always maintained some form of website since I 1st registered the domain.
My blog has always been at the heart of my presence on the web. When social media websites like Facebook and the likes became increasingly popular, I neglected my blog for a while and relied on them for all forms of “news”. But when all social media outlets started implementing curated feeds and swamp our feeds with ads, I started to rely more on my own website and other websites to learn about the things I’m interested in.
I’m taking more notice to mailing lists, news websites, blog posts of friends and organizations, etc. And to do that, I rely on RSS feeds. Many sites have an RSS feed embedded: news sites like CNN, VRTNWS, BBC News but also YouTube, Tumblr and WordPress based sites like my own have an RSS feed.
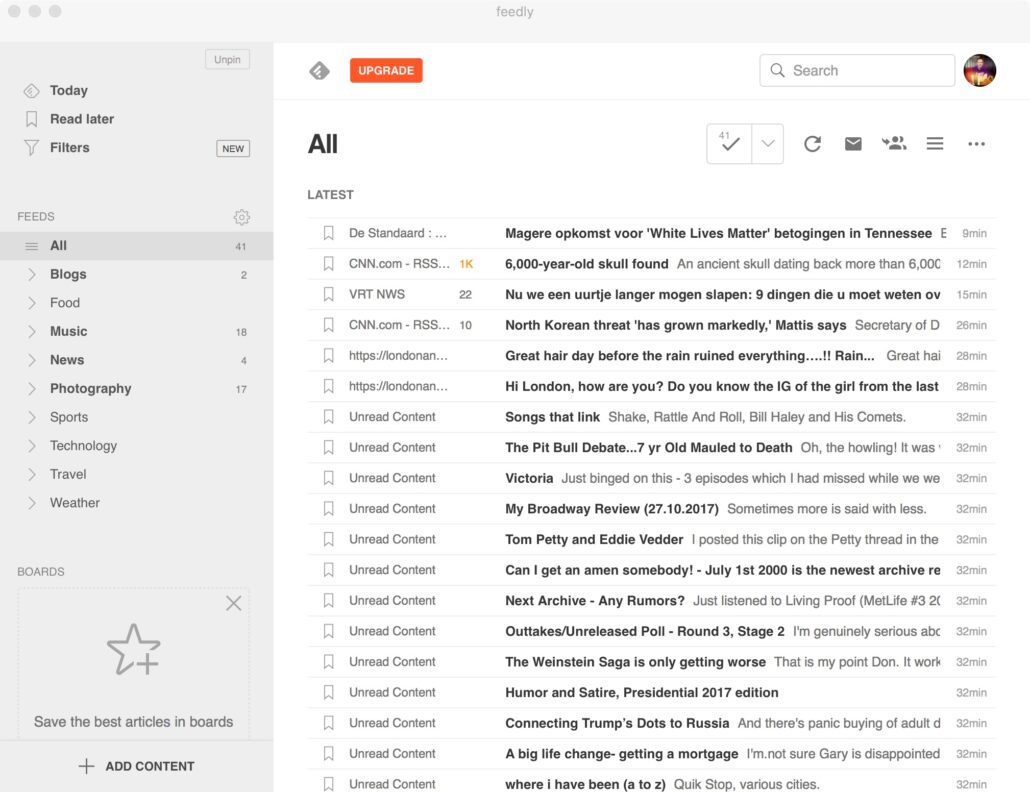
To read my favorite news feeds, I rely on the news aggregator site Feedly and their app (available for MacOS, iOS and Andriod) .
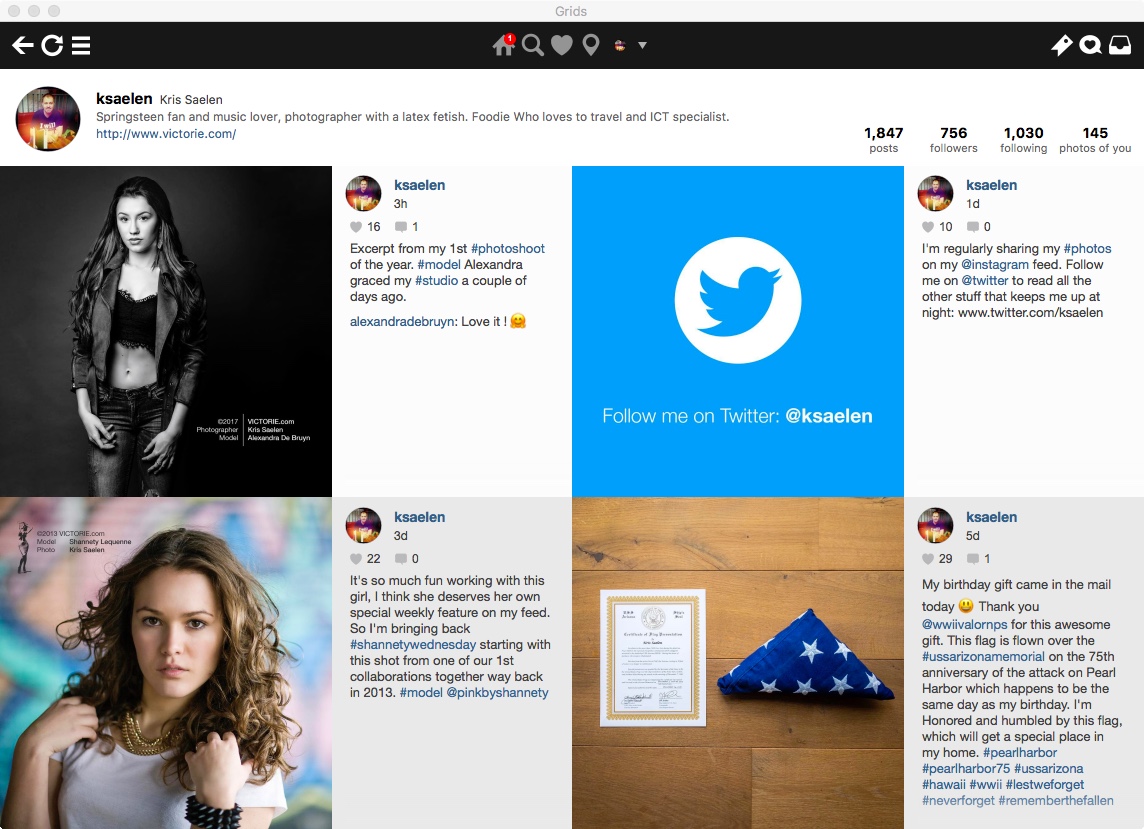
I have a cool tip for you that is somewhat related to iPhoneography: a desktop application to easily look at your Instagram stream. The app is called Grids and is available for MacOS and Microsoft Windows.
I love Instagram. It is by far my favorite photography app. I post all my photos to Instagram before I show’em somewhere else. My Instagram is a mix of photos shot with my iPhone and more serious stuff that I will shoot with my Canon dSLR cameras. I browse to IG to look at the work of other photographers and models. I use it extensively. I like the IG iPhone app but I am less of a fan of looking at my stream on the Instagram website. Even when I’m working at my computer, I rather pick up my phone to flick through IG than go to their website.
I’ve looked at a few desktop applications for Instagram and Grids is by far the best I’ve found. I have set up to mimic the look and feel of the IG app on iPhone. It sits to the side of my screen and I can scroll through my stream like I would do on my phone, liking and clicking on user profiles as I go along. It has pretty much all the same features as the iPhone app has. An added feature is the option to download photos; something that can’t be done from the Instagram website or the iPhone app.
I used to have to put a photo on my Dropbox from my desktop, get my phone, download in the photo from Dropbox and then post in to IG using the app. But with Grids, you can post directly to Instagram from your desktop. For now, there is no option to share that post to your other social media like on the iPhone app, so I hope the developers add soon.
Back when I shared my 2 favorite camera apps for iPhone (Camera+ and Hipstamatic) I said I would be testing the camera functions of Lightroom Mobile. And wow! It is awesome!
I have been using Lightroom in my laptop for many years. It is my starting point for all my photo retouching and cataloging. Over the last year, I have been preparing myself to use LR Mobile: I now have all my photos in one catalog, created collections for my portfolio and my travel photos.
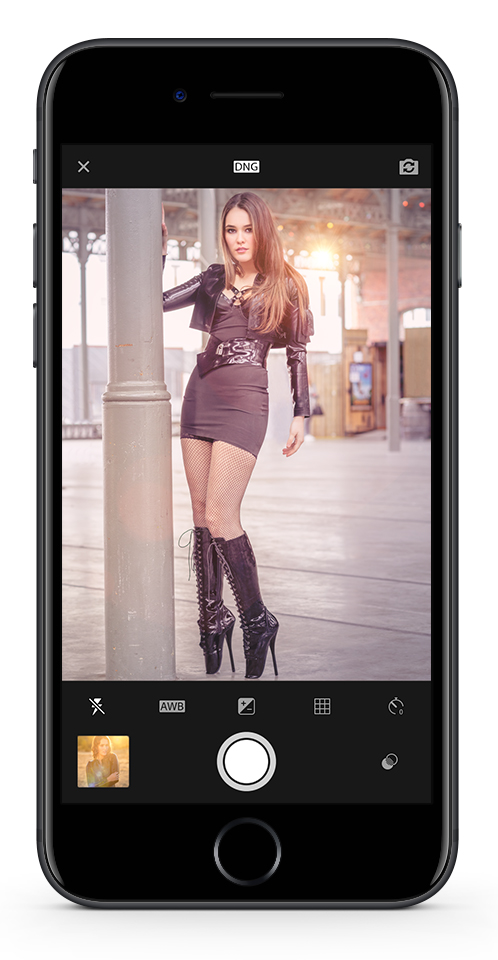
At first I only a as going to use LR Mobile to show my photos on my mobile devices. But when Adobe announced they where adding shooting in RAW/DNG to the LR Mobile app I knew I had to try it. And it was well worth it!
You can shoot RAW/DNG from right inside the Lightroom Mobile. Your RAW photos get stored in your catalogue and are automatically synced to your desktop. I used to have to connect my iPhone to my laptop and import the photos into my Lightroom catalogue before I could retouch them. And as they were JPEG, my options were limited.
Now, when I get home and my iPhone is connected to WiFi, it syncs with my desktop and photos automatically apear in my catalogue. Shooting RAW on the iPhone means you can use all the familiar tools and sliders in LR. You are able to correct your photo like you would with a RAW photo from your dSLR.
Another advantage of LR Mobile is the ability to edit right on the iPhone itself. Most of the tools and adjustment options you know from LR (that is if you are a LR user of course) on the desktop are available on LR Mobile as well. So instead of having to wait for you to get home, you can edit on your iPhone or iPad, export to JPEG and share on social media right away. And the cool part is, your retouching is synced with your desktop catalogue too!
If you are already a Lightroom user on your desktop, I highly recommend LR Mobile.
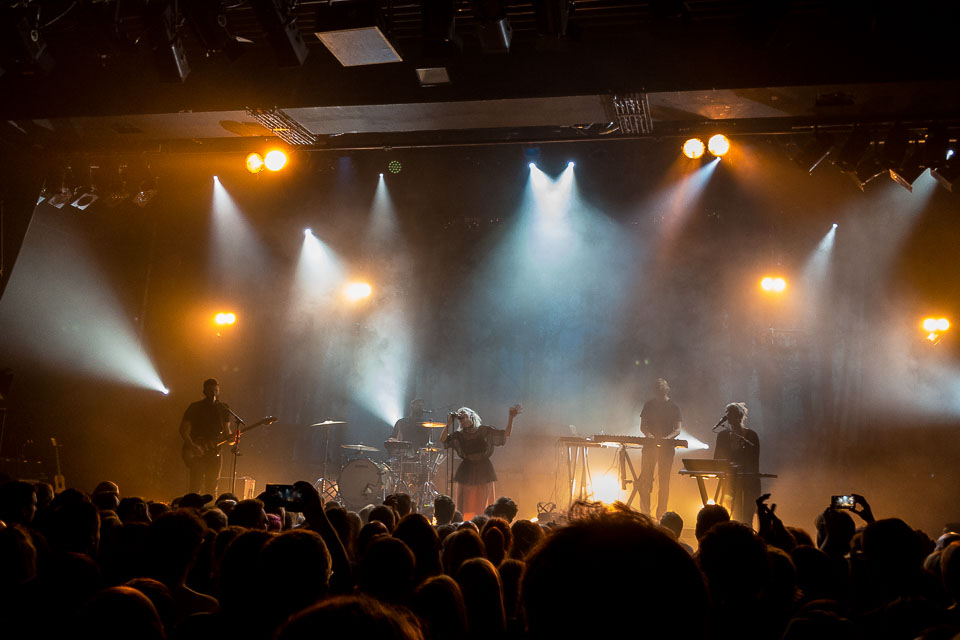
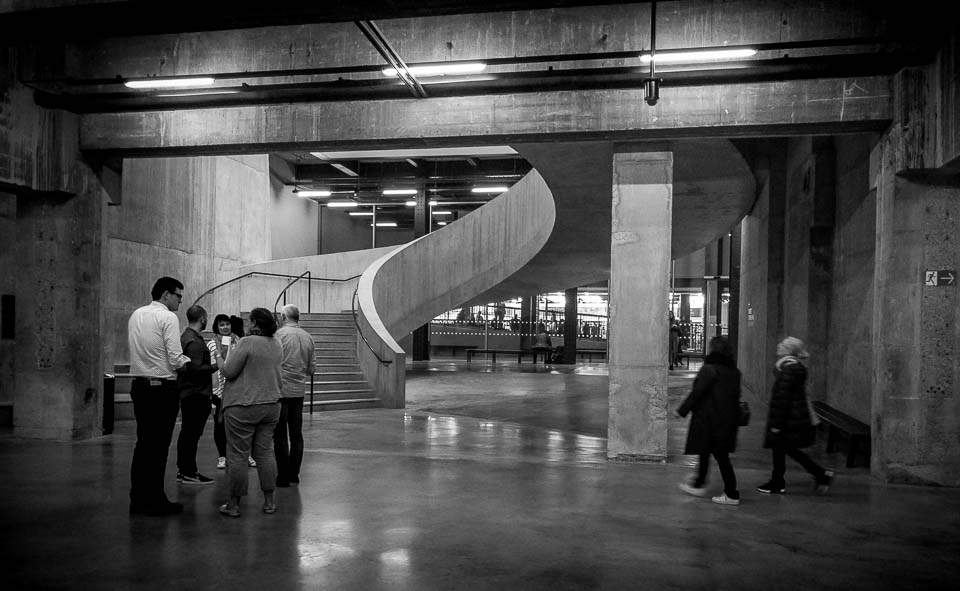
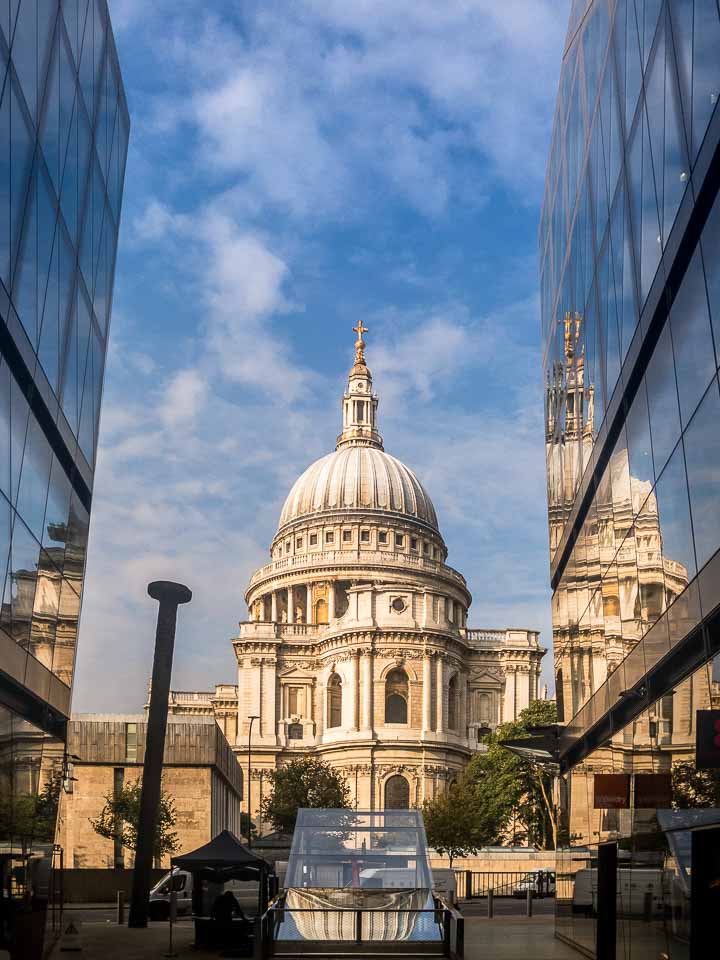
I have a couple of sample photos I shot with my iPhone 7 and LR Mobile over the last few weeks. They have been retouched with LR right on my iPhone. I was really impressed with the quality of the photos. Even the concert photo turned out pretty good.
Last week, I started a new series of blog posts on taking photos with an iPhone. In that 1st episode, I talked about one of my favorite camera apps: Camera+. Today, I will share that other favorite camera app: Hipstamatic.

Hipstamatic is by far the coolest app if you like those vintage style photos that are still very popular on Instagram and other social media. Their interface turns your iPhone in a vintage camera. They have tons of different lenses, film types and flash emulators to give your photos that vintage look. And you can endlessly combine all those elements to change the look your photos.
When you have Hipstamatic in its traditional vintage camera mode–the ClassicMode–all you have to do is shake your iPhone to randomize the lens, film and flash type.
I want to have a little more control over the type of lens and film I use though, so I use the new ProMode: it allows for manual control, control over the format of your photos, and you can easily store your favorite combinations of lens, film and flash. I like to use it for snapshots and behind the scenes photos at my photo shoots. I will save the photos to my iPhone’s camera roll of course so I can share them on social media.
I have 2 favorites I use very often: Lucas AB2 lens + BlacKeys B+W film + Dreampop flash for black & white, and Watts lens + Pistil film + Tasty Pop flash for color.
I get plenty of questions about my iPhone photos. Questions like “What app do you use to take your photos?” and “How do you edit your photos?” or “You must be using Photoshop to edit your photos, right?”. So, let me address these questions in a series of blog post.
Caveat: I am and always been an iPhone user. My tips & tricks and app recommendations apply to iOS devices only.
Anyway, let’s start at the beginning: my favorite apps for taking photos with my iPhone are Camera+ and Hipstamatic. I will talk about Camera+ now and I will cover Hipstamatic in a later blog post.
It’s also good to know that Adobe‘s latest release of Lightroom Mobile now includes a camera supports shooting in DNG on the iPhone. I will be looking into that in the next few weeks. It might be a good alternative to Camera+ if you are a Lightroom user like me.
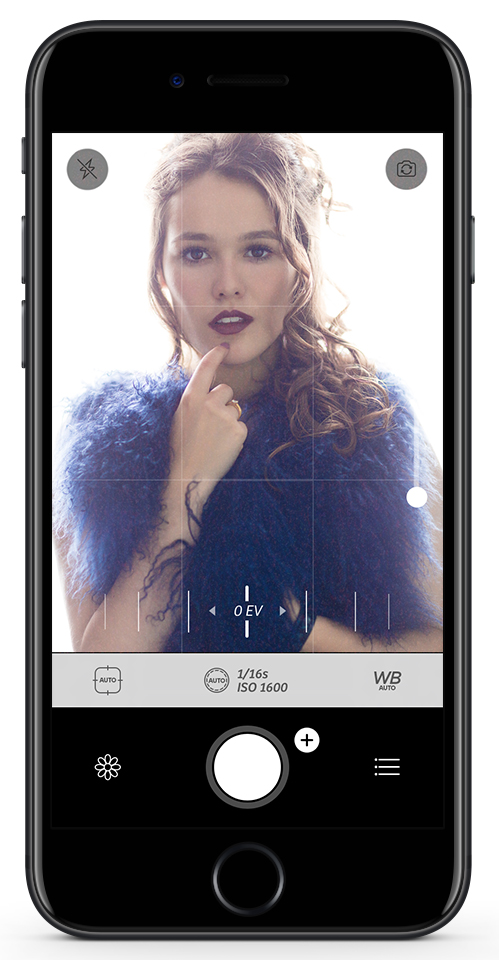
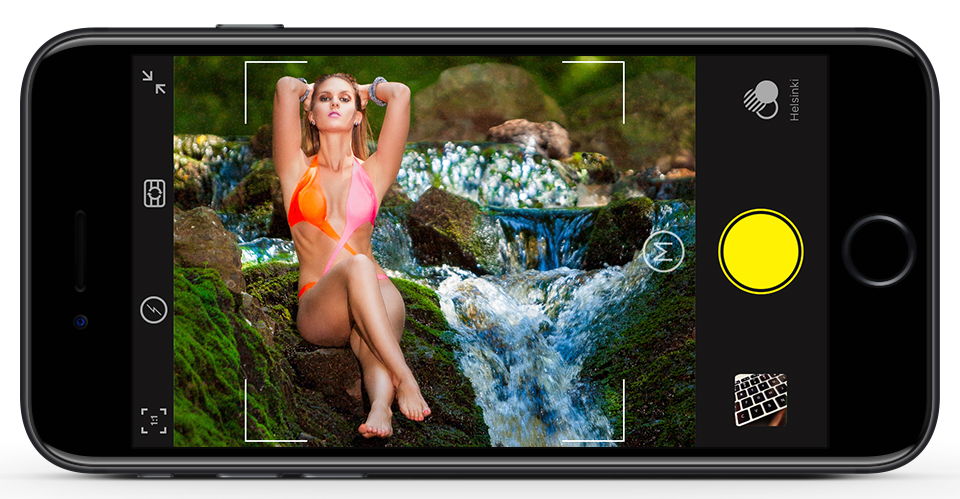
I love Camera+ for its versatility. It obviously has an automatic mode as you might expect from any iPhone camera app. But you can also run it in full manual mode giving you control over shutter speed, ISO, exposure compensation and focus point. The thing that sticks out for me is the possibility to independently choose a focus point and an area where to measure exposure form. Not many other camera apps for iPhone have that many manual controls.
I also like the fact that you can also control the flash to be always off and always on. I prefer not to use flash as it is very harsh light on an iPhone, so I keep my flash turned off most of the time. But when I need a bit of extra light, I prefer to have continuous light coming from my iPhone rather than harsh flash light.
I have the output of the app set to the highest possible quality. This gives me a little more room for editing afterwards. And I keep the zoom function of the camera disabled. I will explain why in a later blog post.
And with the option to choose from a wide format, square or the standard 4:3 aspect ratio, and timer functions, Camera+ is really my go-to-camera on the iPhone for stills. Camera+ is not a free app but it will be money well spent if you decide to buy this app.
It has plenty of build-in features for editing and sharing to social media. However I never use them. I save my photos directly to the iPhone’s camera roll and use other applications to edit and share.
I finally have my personal website back online! I tried all sorts of different things over the last 3 years: a static HTML based site, Joombla, … I was looking for something that was easy to maintain, something where I could show my work as a photographer, something where I could share my thoughts and ideas, something that would allow me to share links, articles, music clips and video. So I decided to return to WordPress. And after a hiatus of 3 years I have returned to the blogosphere (does anyone still use that word?).
I have been foolin’ around a lot with web design and development these last few months. Actually: it took a lot of my time. And one of the things I’ve been working on is a website tailored to the display size of Apple’s iPhone.
Designing for a resolution of 480 x 320 pixels can be quite intriguing. How does one create an attractive website that is fast, small in size, easy to use and still holds all the information one would want to on such a small display? As usual, the internet is the best source of information and inspiration. It took some research: I went to some reading material on designing for handhelds and select Highslide to power my portfolio page. Then I went to work…
It took a couple of days to design and code the site. But it is done! I’ve just released my iPhone micro site. And now that it’s done, I actually quite proud of it.
Euh… You’ll need an iPhone or an iPod Touch to view it… Obviously!