Category:iPhoneography
My photography workflow on the desktop is centered around Adobe Lightroom. I shoot with my Canon and GoPro camera’s, import the files to LR and start my editing and retouching process there. I insist on having all my photos–the photos I made myself that is–in one place. And that definitely includes photos made with my iPhone. It as a camera that is as good as any, and I take my iPhoneography serious.
Since the release of Lightroom CC for iPhone, my workflow for taking photos with my iPhone, I will pretty much the same. LR Mobile automatically synchronizes to LR on the desktop and helps me to keep all my photos in one place.
Setting up sync is easy: Adobe has step-by-step instructions to help you with that.
I have Sync Only Over WiFi turned on in LR Mobile. Every time my iPhone connects to a WiFi network, my photos get uploaded automatically. I don’t want to upload my photos over a 3G or 4G data connection. Photos made with an iPhone have become quite large. Uploading them over my data connection would burn through my data bundle in no time.
I use the camera inside LR Mobile as much as I can. I have it set to shooting in RAW at the highest quality. I have set it up once and then I never touch it again so I know every shot I take will be at the highest quality available.
Once you’ve got sync and the picture quality setup, just hit the little camera icon LR Mobile’s home screen and fire away. Oh btw, soon enough you will realize the power of LR Mobile’s camera. But I’m not getting into details there.
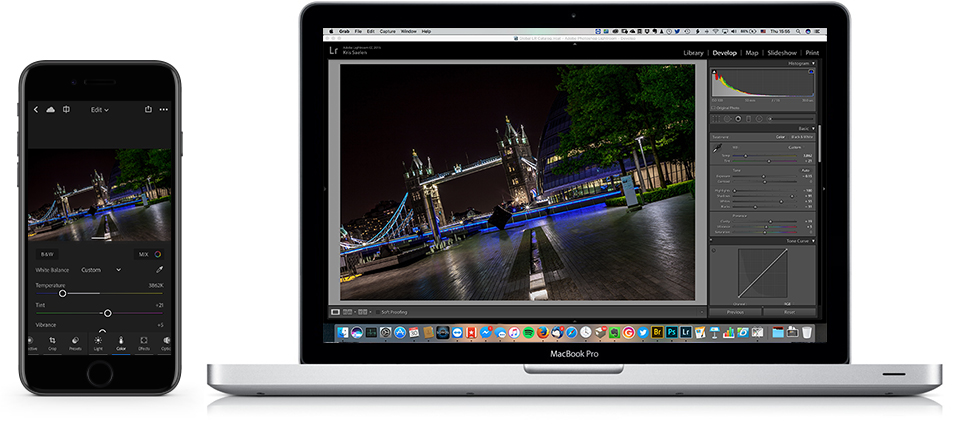 I often edit the photos I make with my iPhone in Lightroom CC, export to my iPhone’s camera roll and publish to social media. Lightroom ‘s controls for editing are very similar to Lightroom Classic on the desktop as you can see from the illustration above. And that is a big plus for me: I know the LR tools quite good, so editing on Lightroom CC is easy. Also, I can start to edit on my iPhone and continue on my laptop without loosing any work or time because your edits are synced in both directions as you make them.
I just love the seamless interaction between Lightroom CC on my phone and on the desktop version.
I still use Hipstamatic quite often too to make photos with my iPhone. I like their endless possibilities to style a photo right in the app. So, what about those photos? And what about the photos you shoot with any other apps? Should you just leave them on your phone or should you transfer them to your archive with the rest of your photos? As far as I am concerned, the answer is quite clearly to archive them like you would with all your other photos!
I used to synchronize the photos from my iPhone’s camera roll to my Dropbox on my phone and then pick them up on my desktop and import them in Lightroom. It works perfect that way. I still have that workflow in place as a backup btw.
But Lightroom CC has made it a little easier. Right inLightroom CC’s home screen, at the bottom, there’s a Camera Roll button that will let you import your photos from your camera roll to Lightroom CC.
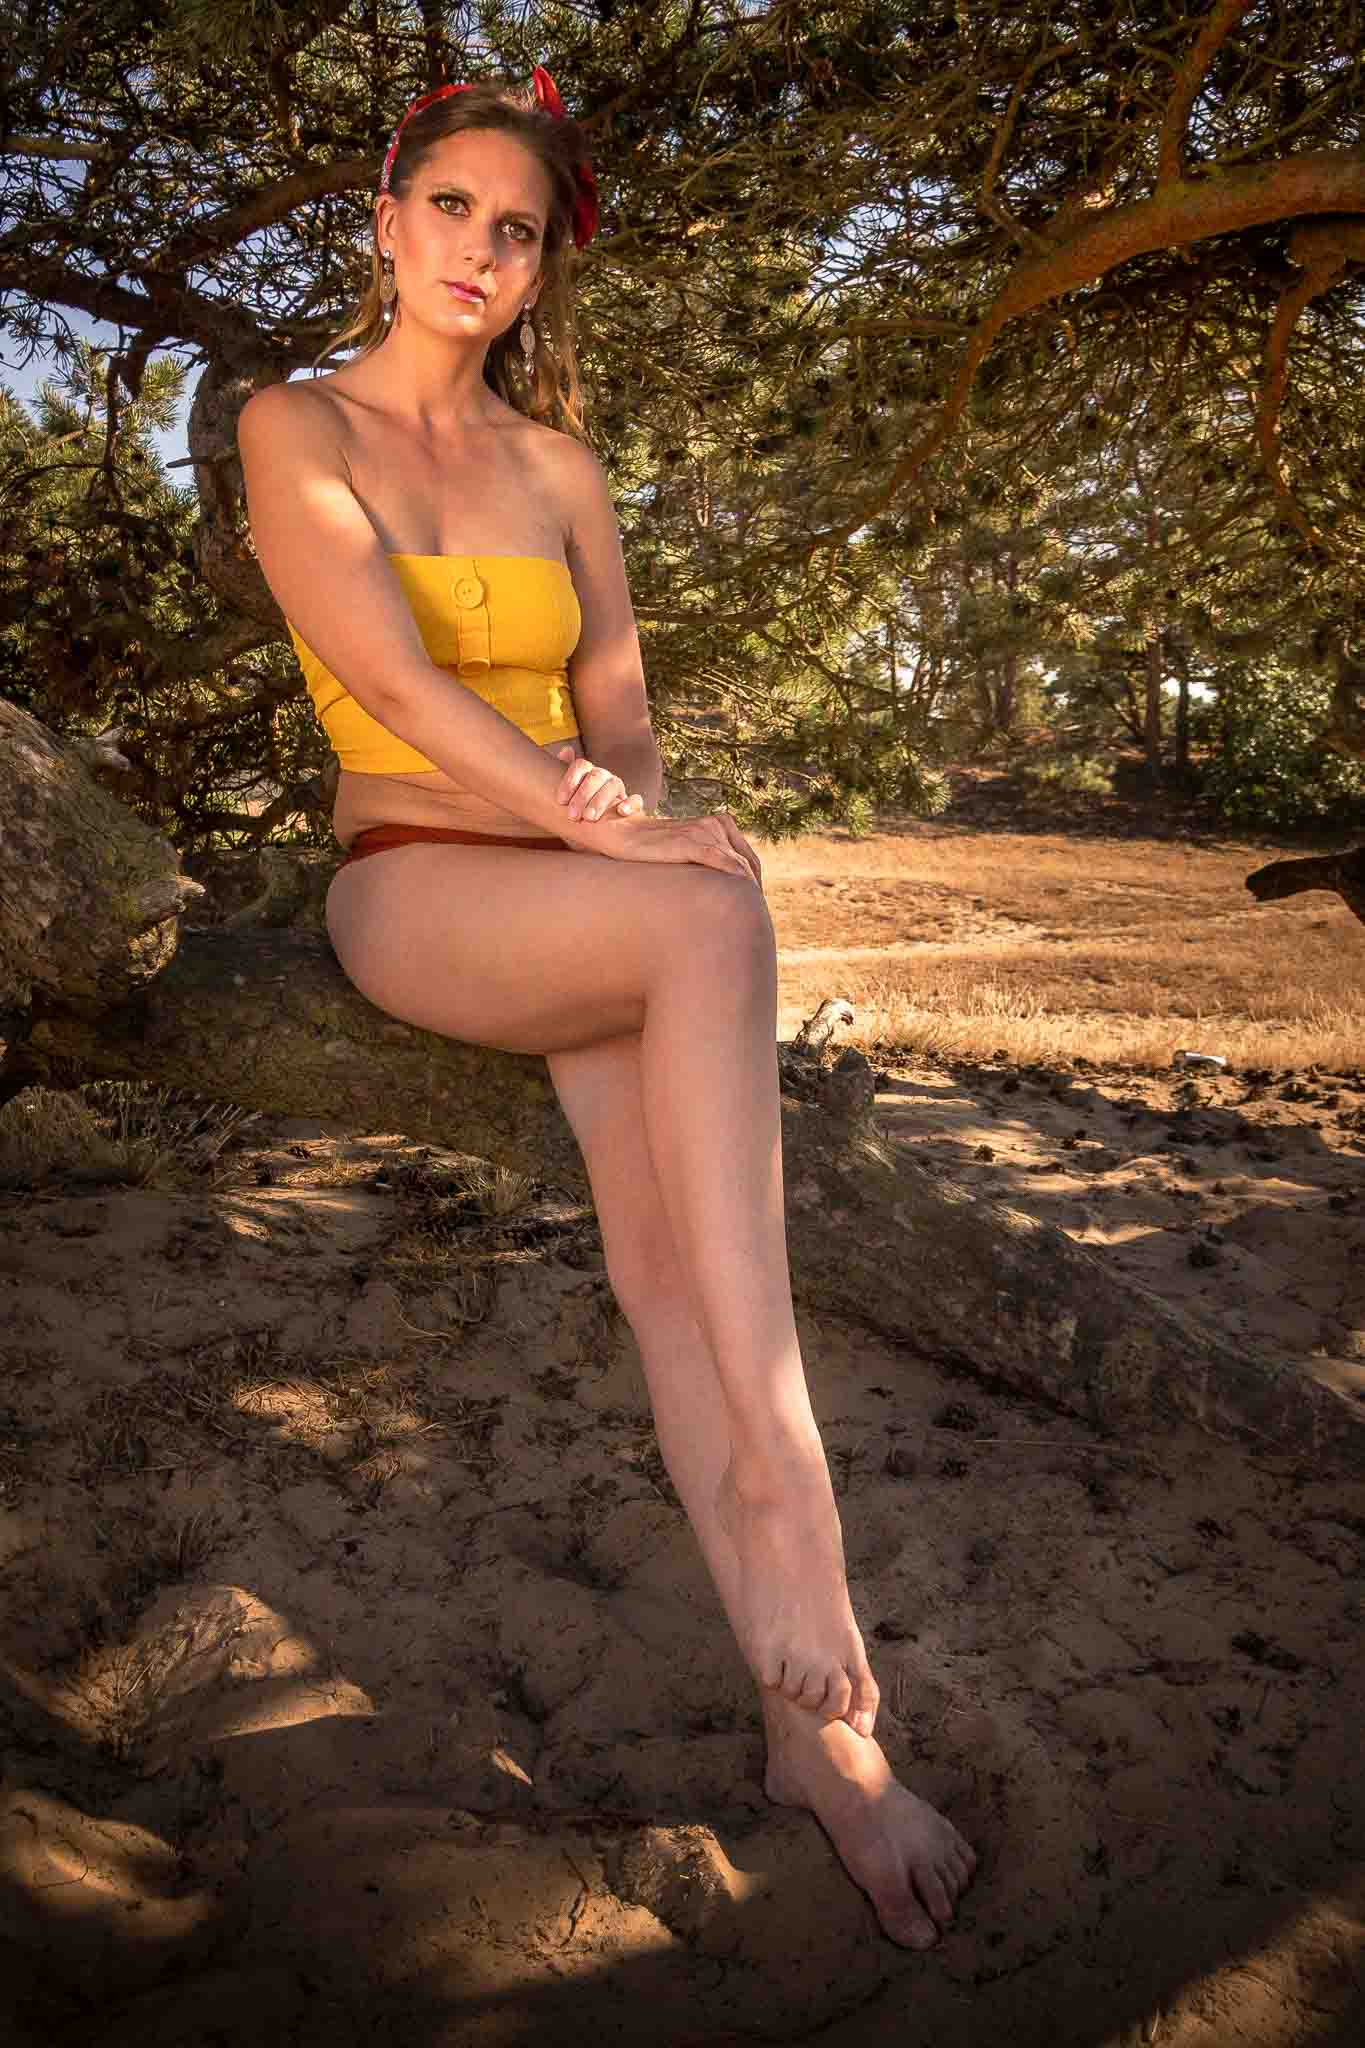
Challenge yourself as a photographer from time to time… Just ’cause it’s fun. Last year I said I wanted to have a go at a photo shoot with just an iPhone as the camera. It took me until this summer to actually set it all up: Magalie was kind enough to model for me on this endeavour and my buddy James was there to help me and light the scene.
It turned out to be quite a challenge. The iPhone has a wide-angle lens in it’s front camera, so I had to get really close to Magalie to shoot portraits. And despite the fact that Magalie and I are good friends , it felt awkward to be that close to each other to take pictures. I did the shoot with the camera of Lightroom Mobile Lightroom CC and even though it allows you to control most settings of the iPhone’s camera, it is still quite a hassle to get a beautifully exposed photo.
But all in all, it was a fun experiment which I plan to repeat in the future.
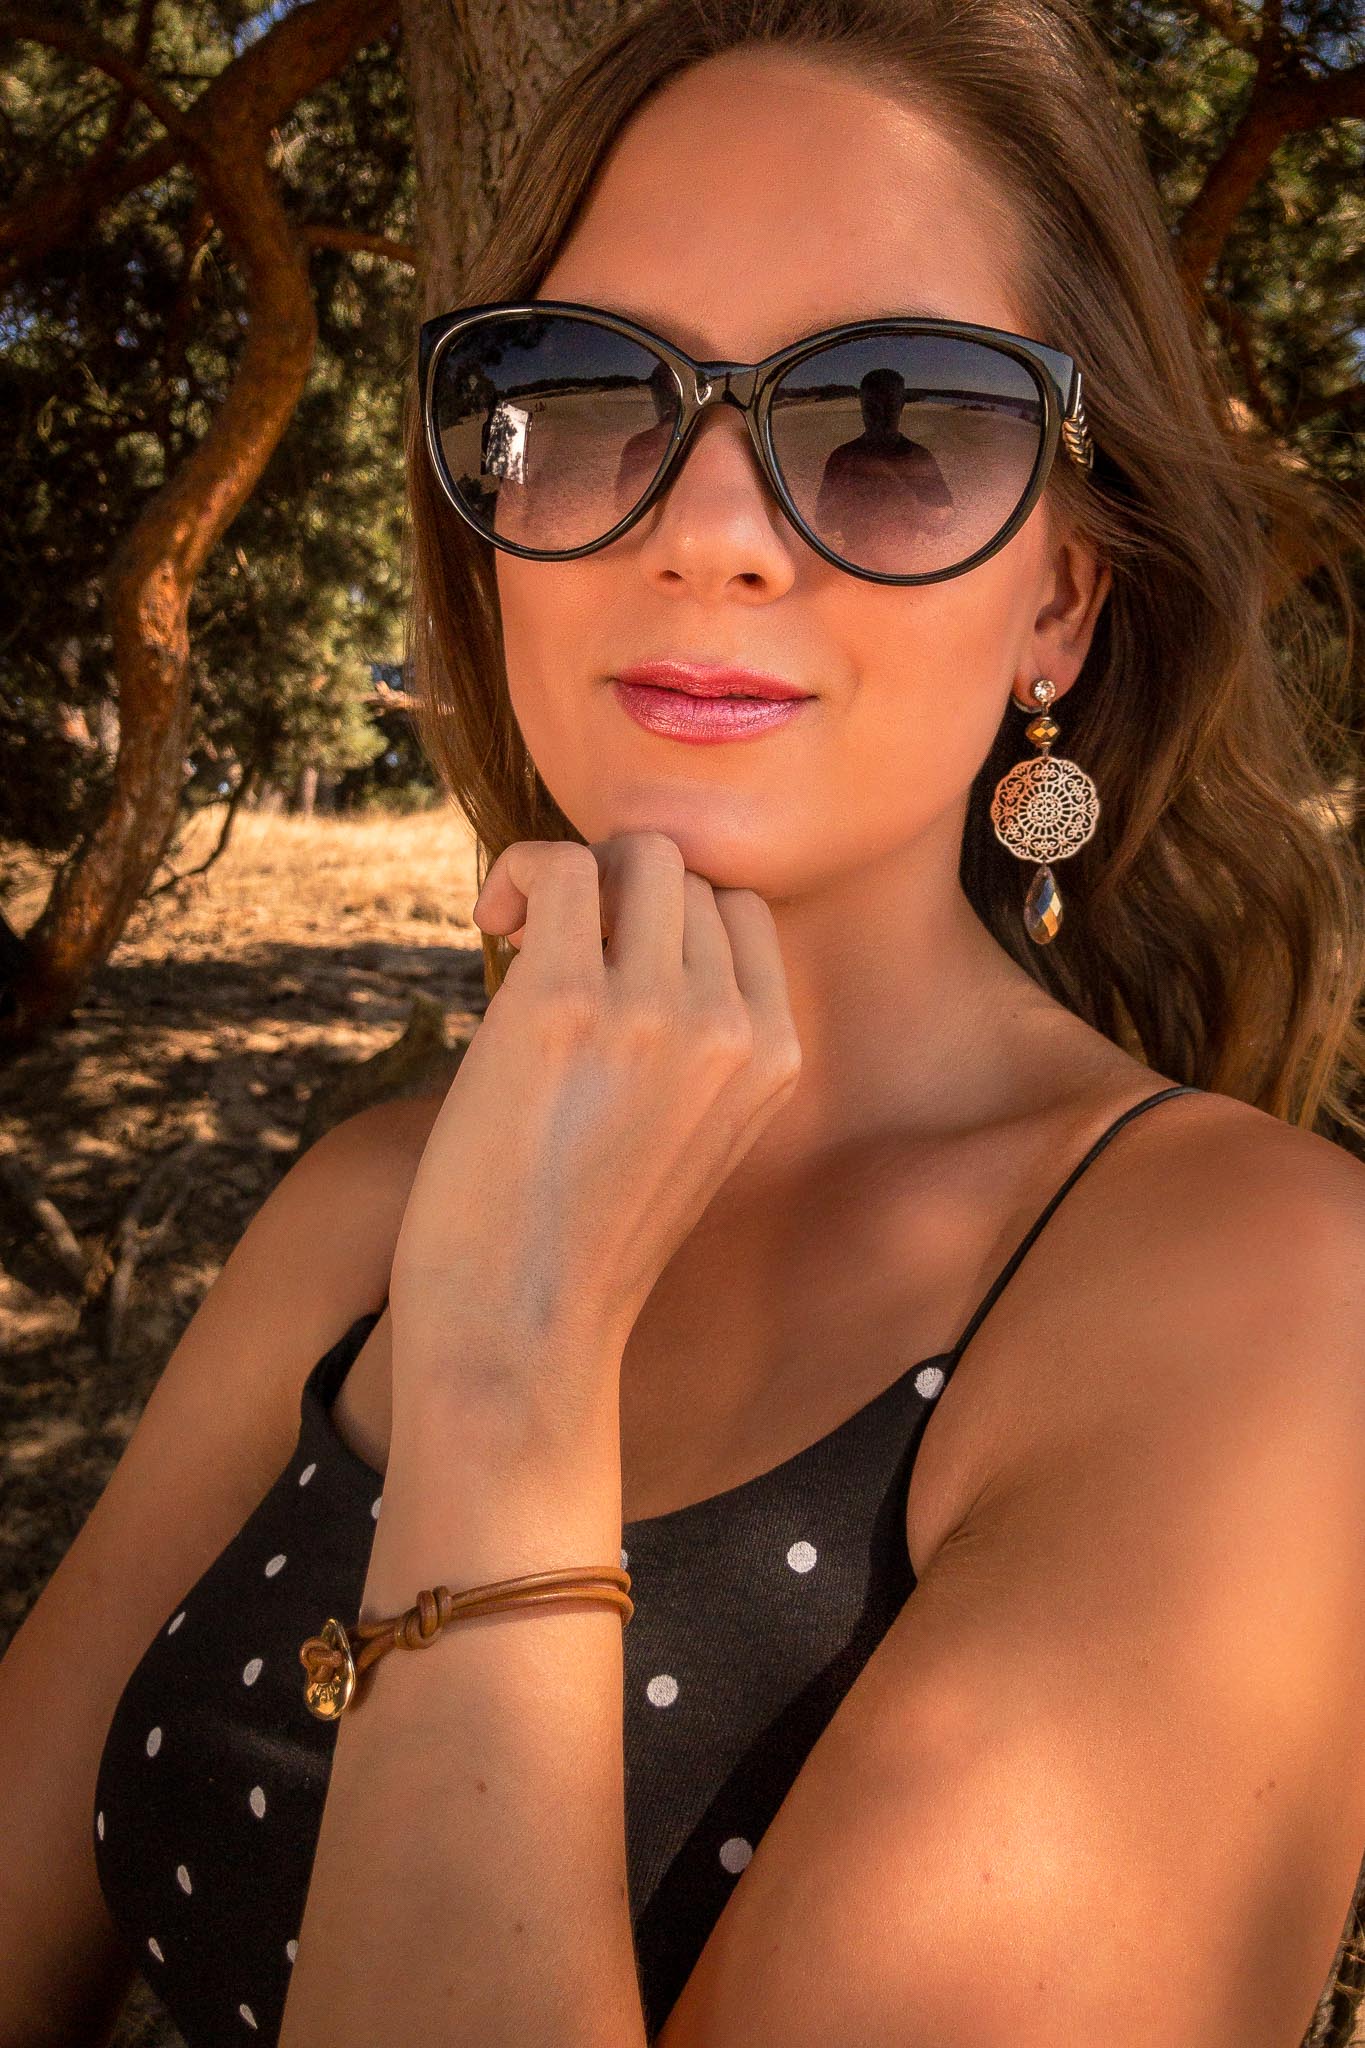
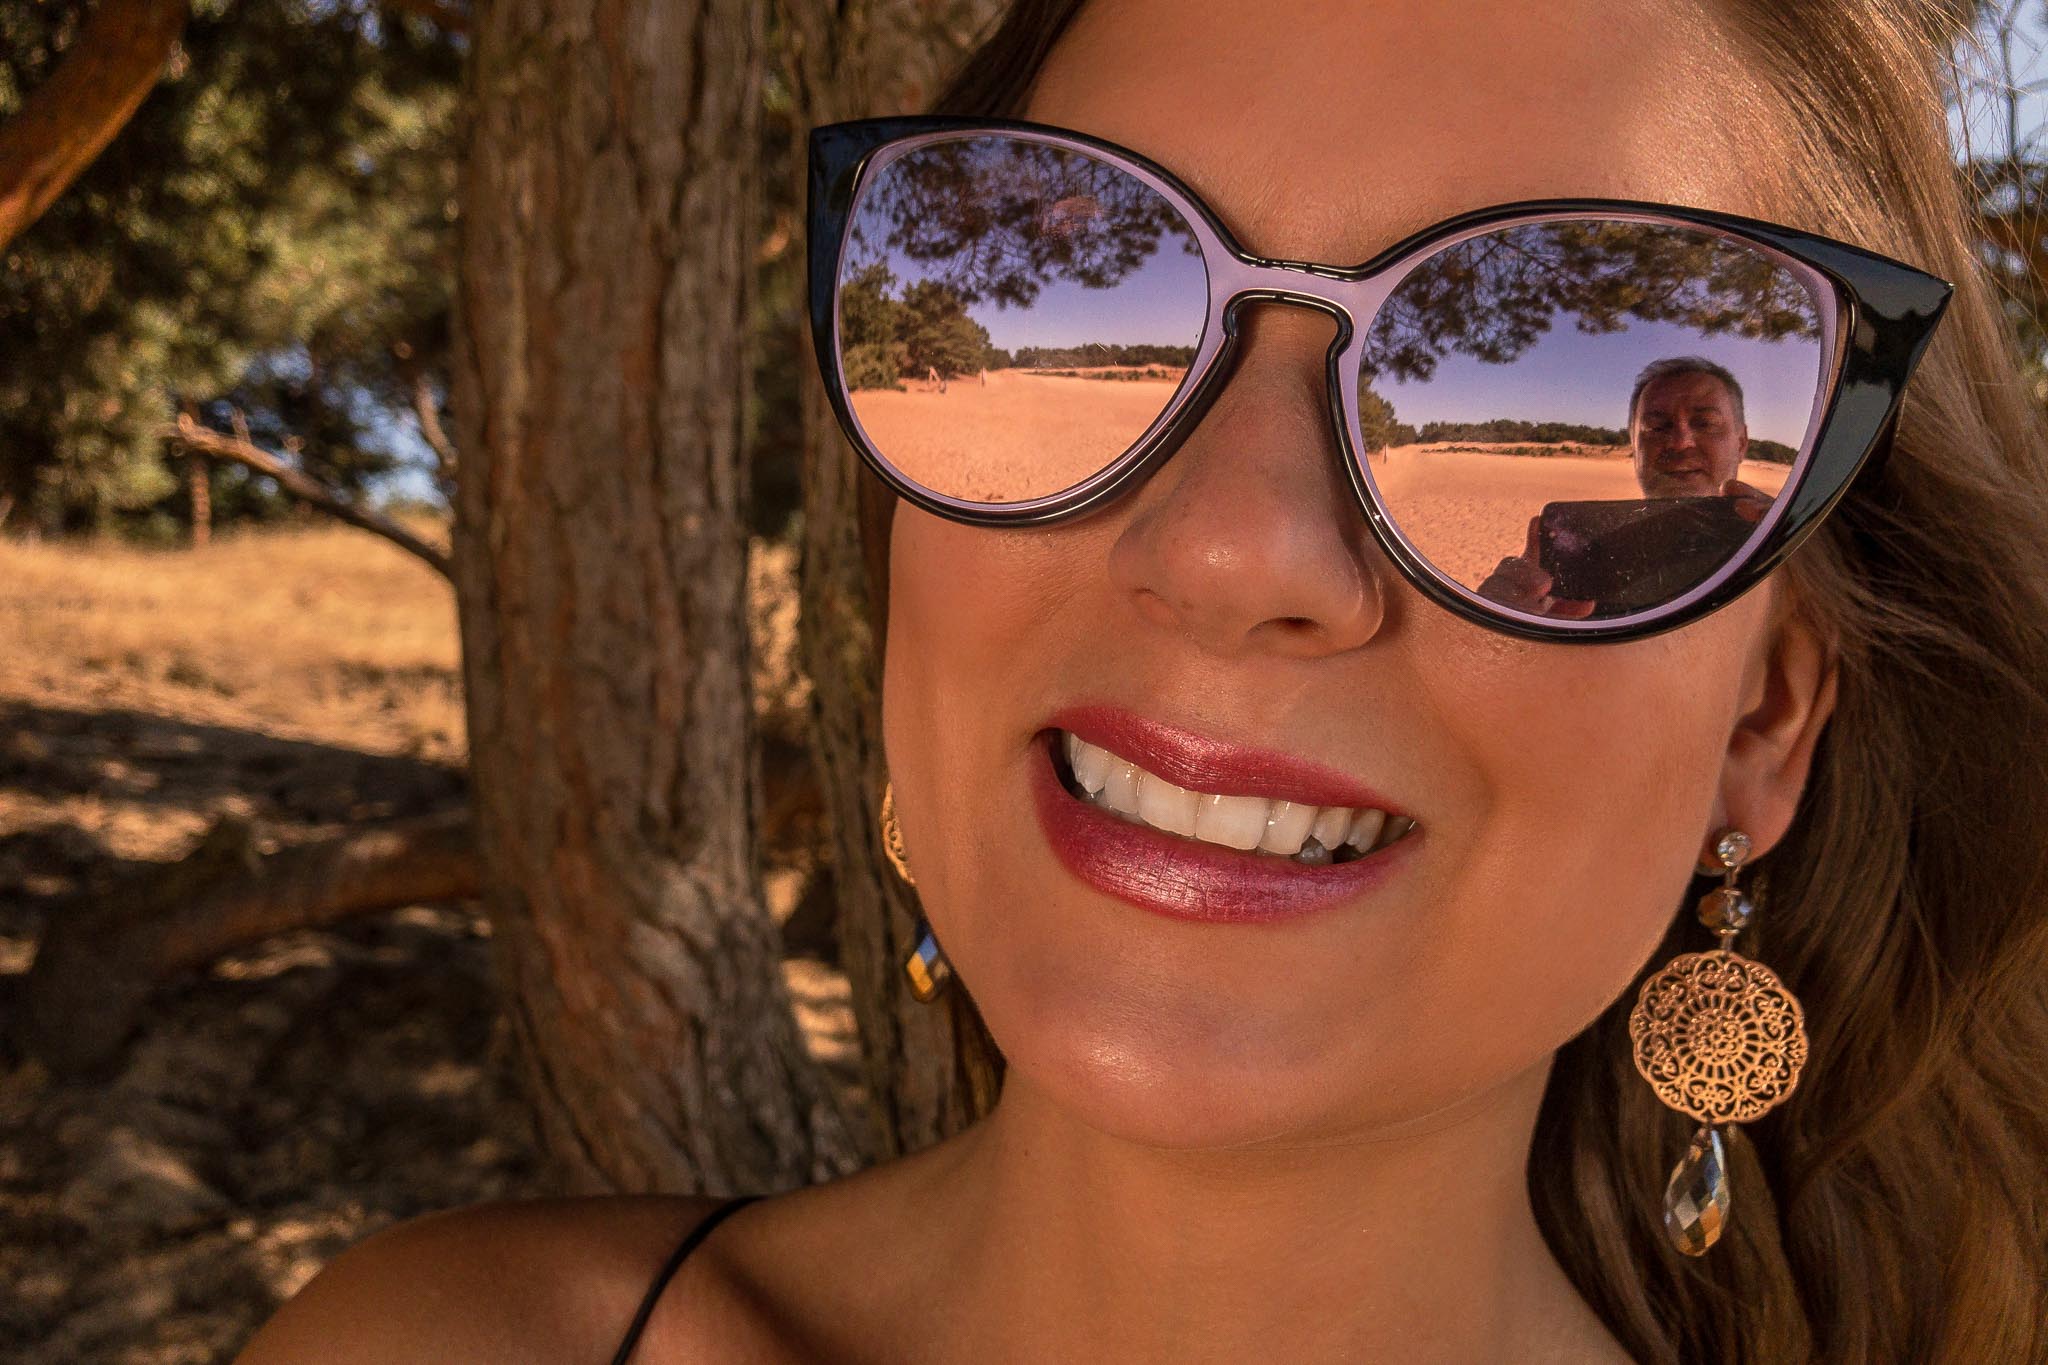
When you see yourself in the reflection of your model’s sunglasses, does that count as a selfie? Anyway, this is just a very beautiful up-close portrait. And, don’t forget it was shot on an iPhone 7, with no flash, just a reflection panel.
Why are so many people picking on the quality of iPhone photos, and of any smartphone for that matter? Everybody says the photos are just not good enough for print or to show them on large format. Well, let’s talk about that for a minute…
I bought my 1st digital camera back in 2001. I took it with me on vacation to Hawaii and shot this photo of the USS Arizona Memorial at Pearl Harbor with it.

The Olympus E-10 that I had back then, had a 3.7 megapixel sensor. Compact Flash cards cost a fortune. So I shot in what was called HiRes JPEG on that trip to get the most out of my memory card. Effectively, this photo is 1600 x 1200 pixels (that is a mere 1.83 megapixel).
This photo is hanging on a wall in my office, printed at 60cm x 40cm (23.6″ x 15.7″) behind plexiglass. After 15 years, I still love it. And I can promise you I will not take it down from my office wall anytime soon.
If you look real close at the print, it is grainy and a little soft. The people on deck of the USS Arizona Memorial are nothing more than multi-colored blobs. And you can see some grain in the clouds too. But when you look at it from the right viewing distance, it is a stunning photo that brings back quite a few memories.
Now consider this: my iPhone 7 has a 12MP camera, plenty of memory, shoots RAW and I can edit my photos in Lightroom Mobile right on my phone. So why should it produce photos that are inferior to that 15 year old photo I like so much?
Well, it doesn’t! The other day, I was in Antwerp attempting a long exposure shot of the new Port House, the Antwep Port Authority HQ designed by architect Zaha Hadid.

While waiting on the sun to set, I flipped out my iPhone and shot and edited this photo of the building in Lightroom Mobile. On my iPhone! Guess what? It holds up to that 15 year old photo of the USS Arizona Memorial. And if that one was good enough to print at 60cm x 40cm, the iPhone photo should be good enough for print too.
When it comes to editing photos on my iPhone, Snapseed is one of my favorites. It was conceived developed by Nik Software and after Google acquired Nik Software, Google continues to develop it.
I love the versatility of Snapseed: you can apply on of many Instagram-like filters to give your photo a specific look or you can decide to use the more Photoshop-like tools to get the most out of your photo. Photographers have been using Snapseed for years. As have I.
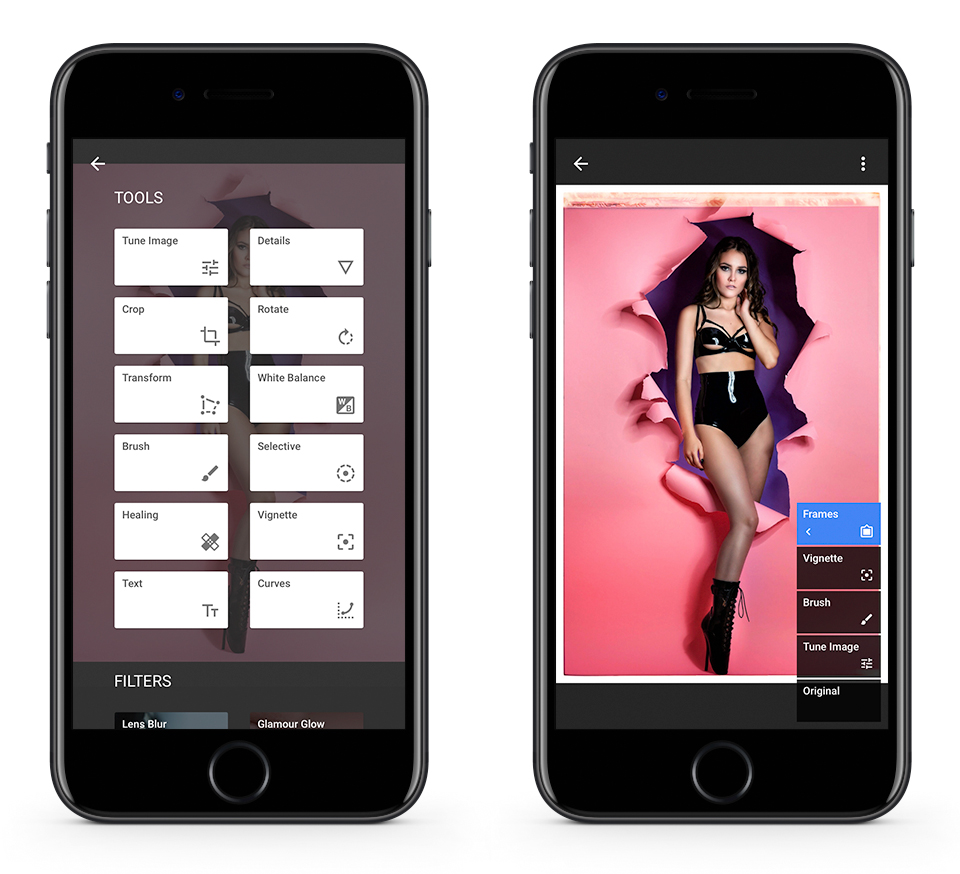
I love the individual controls of Snapseed. I will use it’s features Tune Image, Details and Brush a lot. All of them are done on a separate layer which still can be change after you apply them. So you can always undo or tune your edits. True non-destructive editing in a sense.
Snapseed has a couple of cool looking frames to put around your photos too.
The combination of shooting RAW on your iPhone with Camera+ and editing in Snapseed is second to none. I have largely switches to doing it all in Adobe Lightroom Mobile. But that is because I am a heavy LR users. Snapseed however is my backup solution.
Snapseed is available for iOS and Android. And on top of all this, Snapseed is absolutely free.